
 AsyaTicari
 AsyaRestoran
 AsyaOtel
 AsyaCrm
 AsyaKlinik
 AsyaSpor
 AsyaSSH
 AsyaEmlak
 AsyaFilo
 AsyaPuantaj
 AsyaİSG
 AsyaİHD
 Kolay Öğren
AsyaCrm · Settings
Email Settings
SMTP / POP3 account for bulk e-mail and automatic notifications, notification recipients, daily summary, test e-mail and recent e-mail log.
On Email (SMTP) Settings you define the account AsyaCrm sends e-mail with. It is used for bulk e-mail on Send Email and for automatic notifications such as task assignment, route approval and the daily summary.
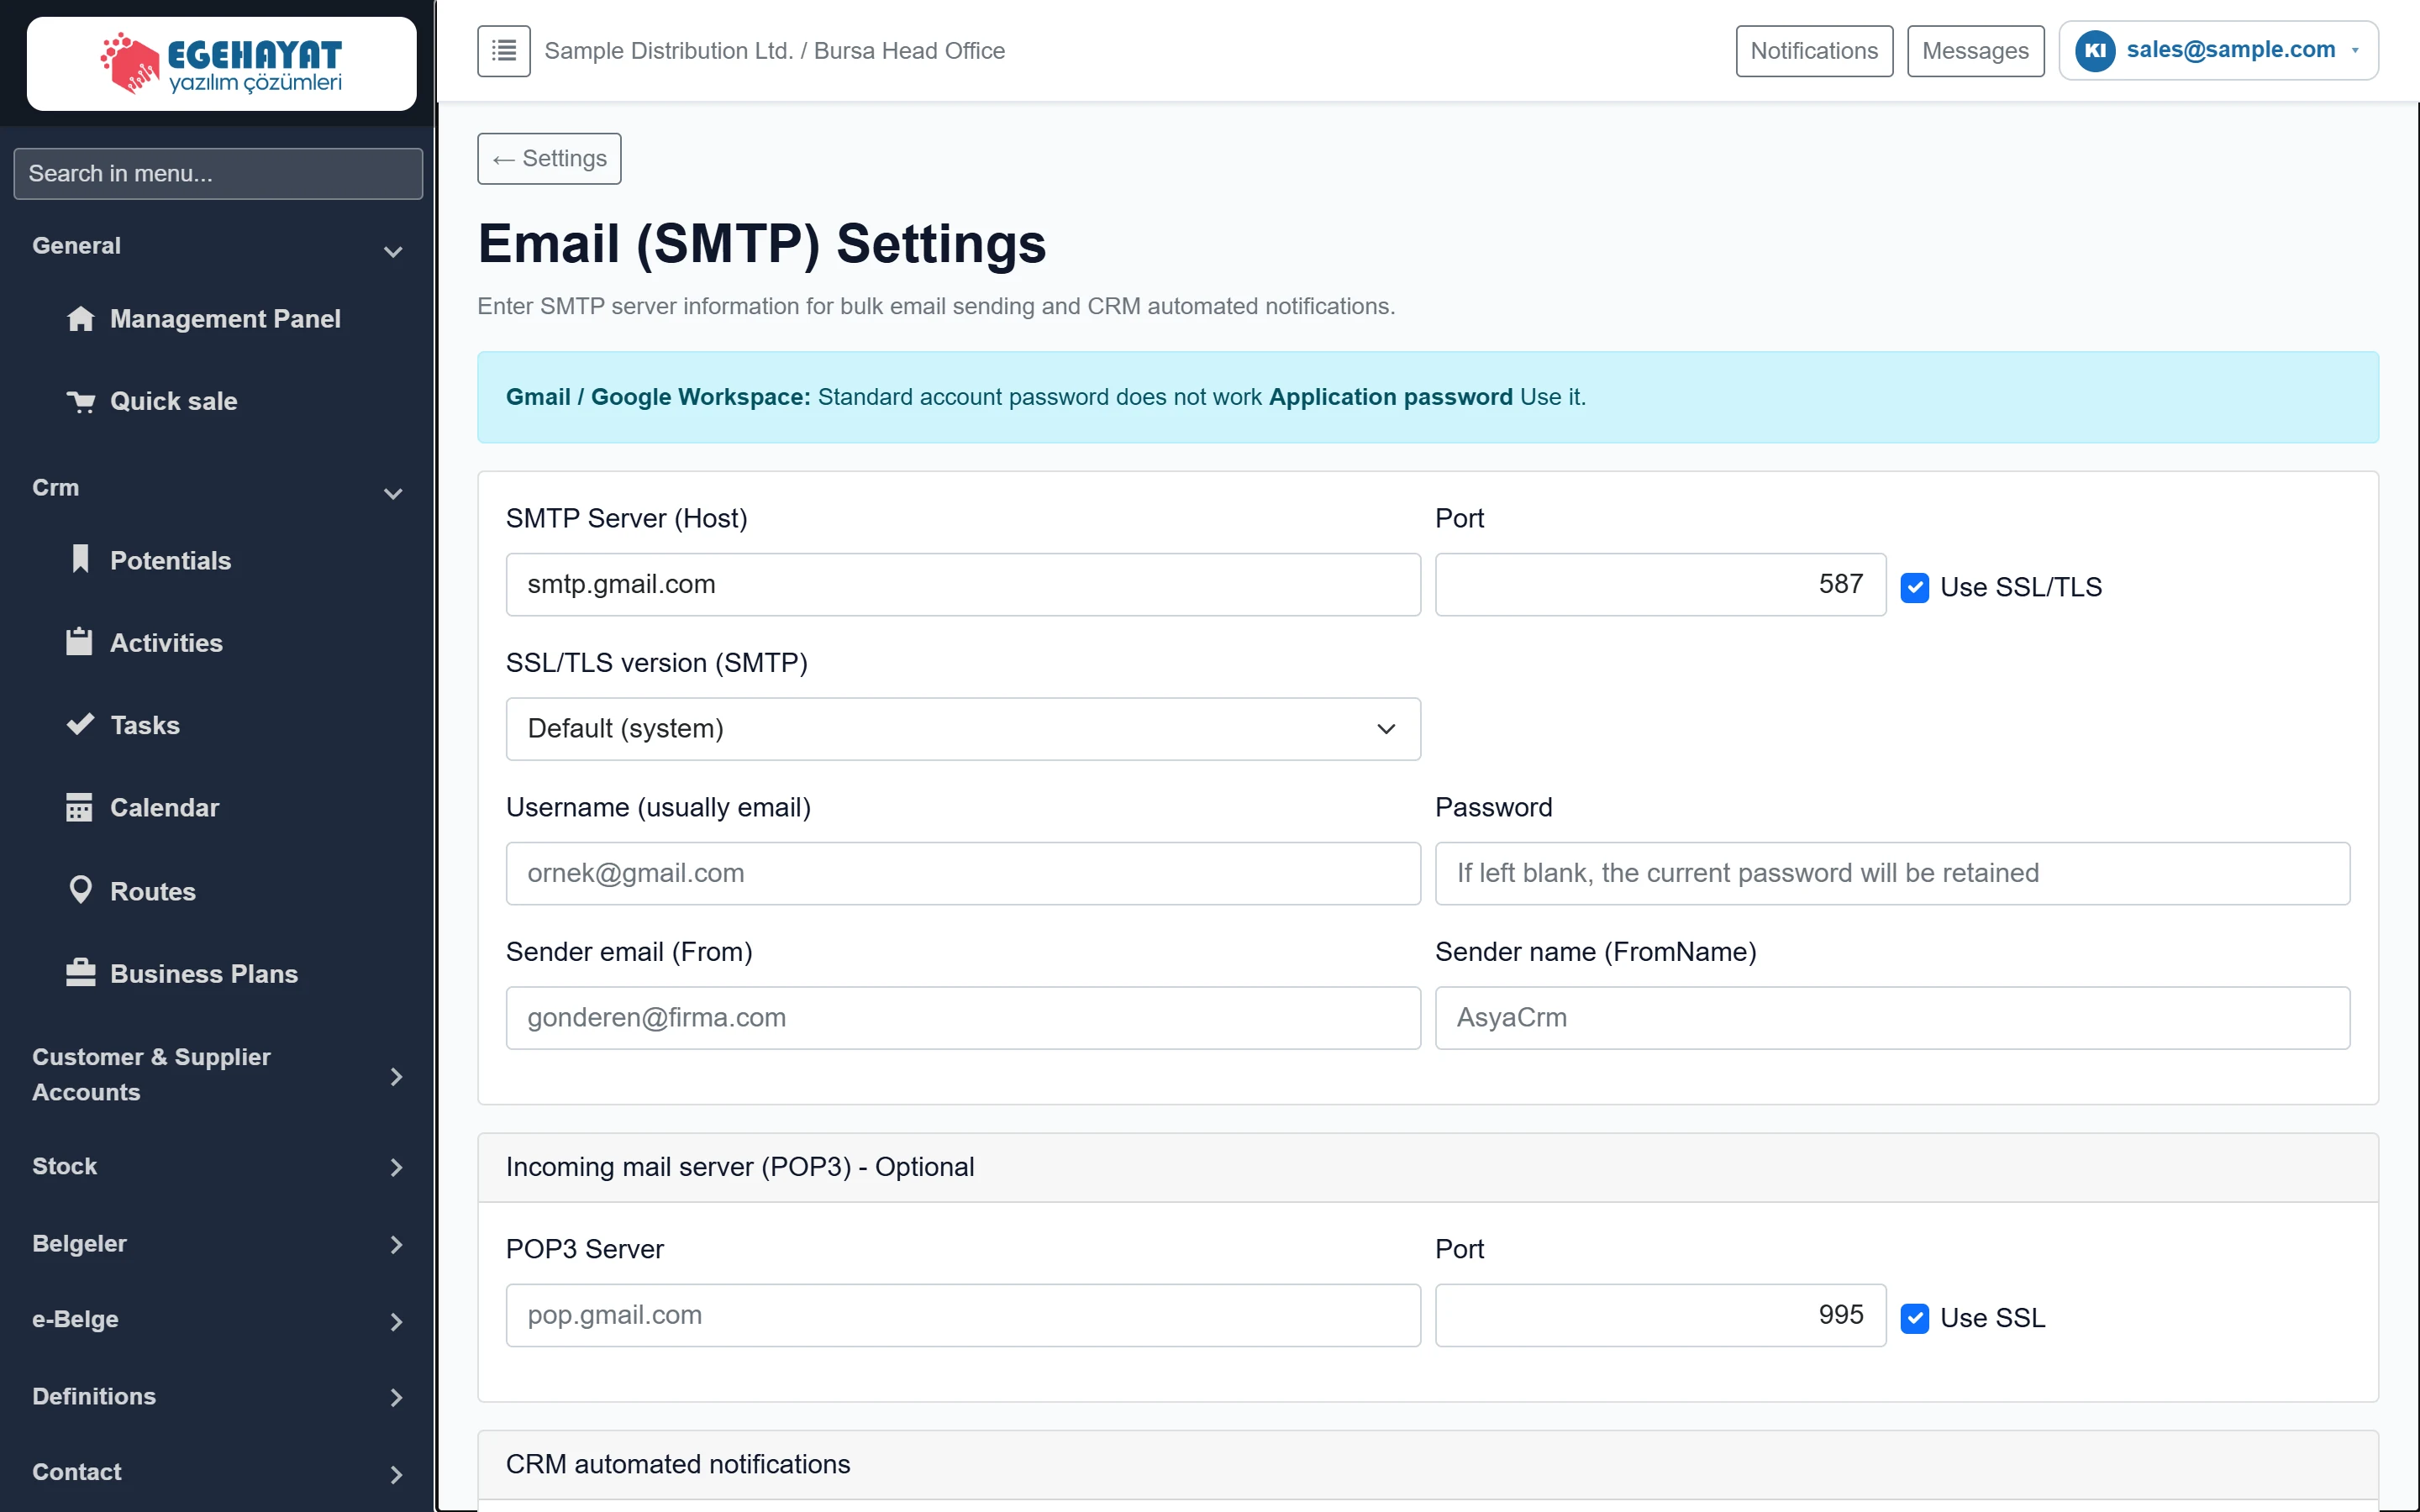
- 1Gmail notice Gmail / Google Workspace requires an app password.
- 2SMTP Outgoing server and account details.
- 3POP3 Optional incoming server.
With Gmail / Google Workspace the normal account password does not work; create an app password in your Google account and enter it as Password. Outlook / Microsoft 365 usually needs an app password too.
SMTP server
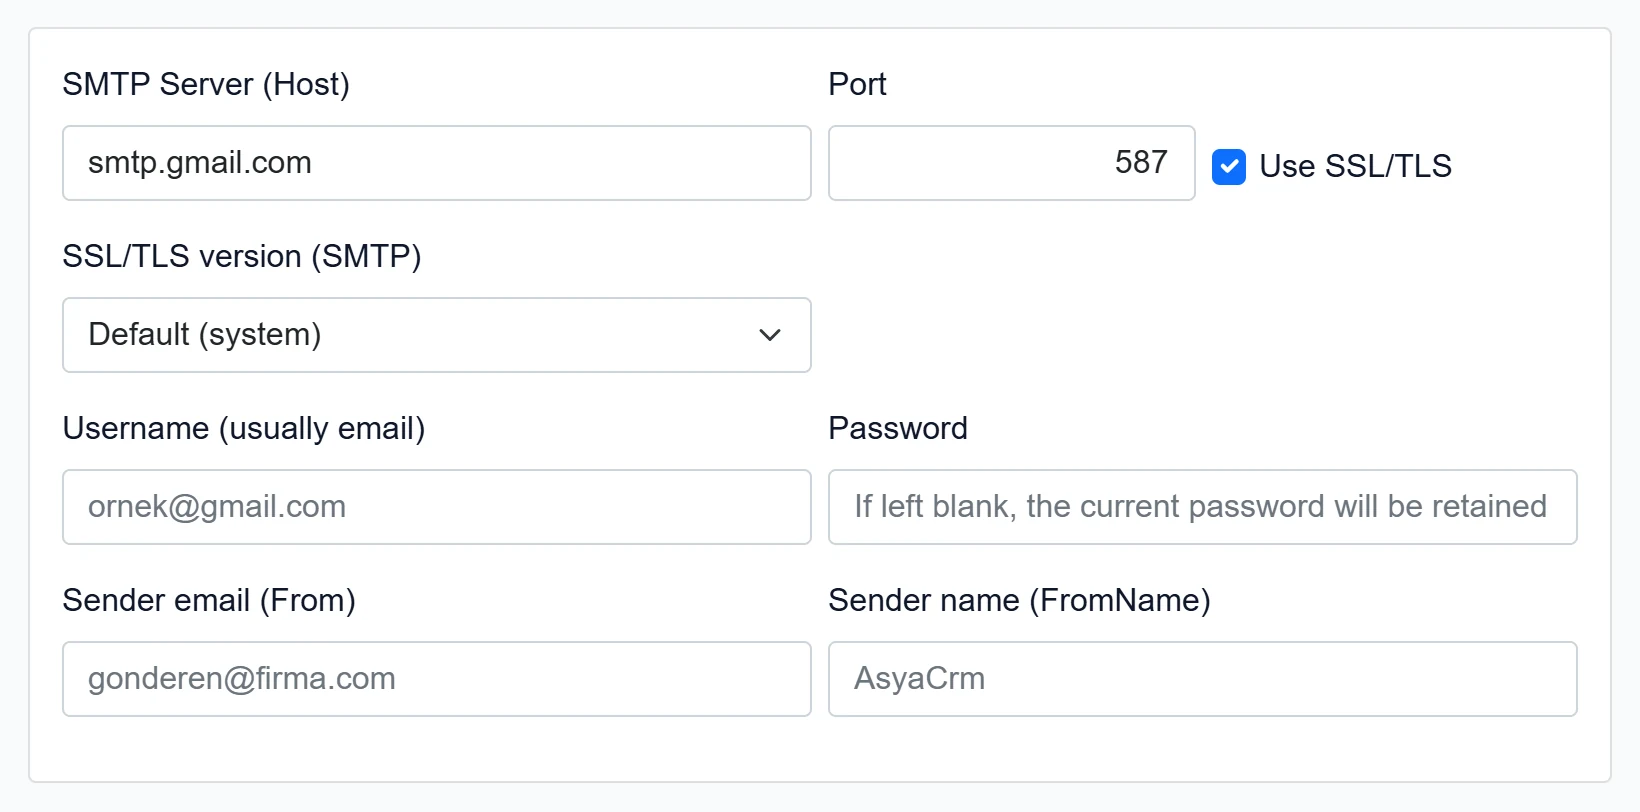
| Field | Sign in | Description |
|---|---|---|
| SMTP Server (Host) | Text | Outgoing mail server (e.g. smtp.gmail.com, smtp.office365.com). Placeholder: «smtp.gmail.com» |
| Port | Text | Usually 587 (STARTTLS) or 465 (SSL). Placeholder: «587» |
| Use SSL/TLS | Checkbox | Check if the server requires an encrypted connection (on for 587 and 465). |
| SSL/TLS version (SMTP) | Choice list | Choose if the server requires a specific TLS version; Default is usually enough. Options: Default (system) · TLS 1.2 · TLS 1.3 · TLS 1.1 · TLS 1.0 |
| Username (usually email) | Text | Login name of the SMTP account, usually the e-mail address. Placeholder: «ornek@gmail.com» |
| Password | Text | Account or app password. Leave empty to keep the saved password. Placeholder: «If left blank, the current password will be retained» |
| Sender email (From) | Sender address the recipient sees; most servers require it to match the account. Placeholder: «gonderen@firma.com» | |
| Sender name (FromName) | Text | Sender name the recipient sees (e.g. company name). Placeholder: «AsyaCrm» |
Incoming server (POP3) – optional
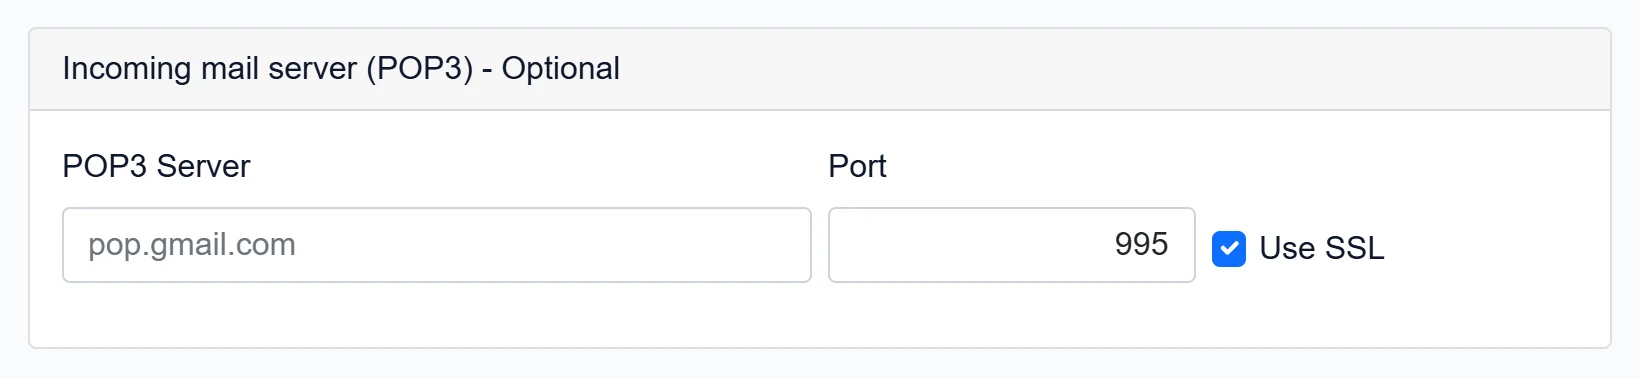
| Field | Sign in | Description |
|---|---|---|
| POP3 Server | Text | Incoming mail server (e.g. pop.gmail.com). Optional. Placeholder: «pop.gmail.com» |
| Port | Text | Usually 995 (SSL). Placeholder: «995» |
| Use SSL | Checkbox | Check if the POP3 connection is encrypted. |
CRM automated notifications
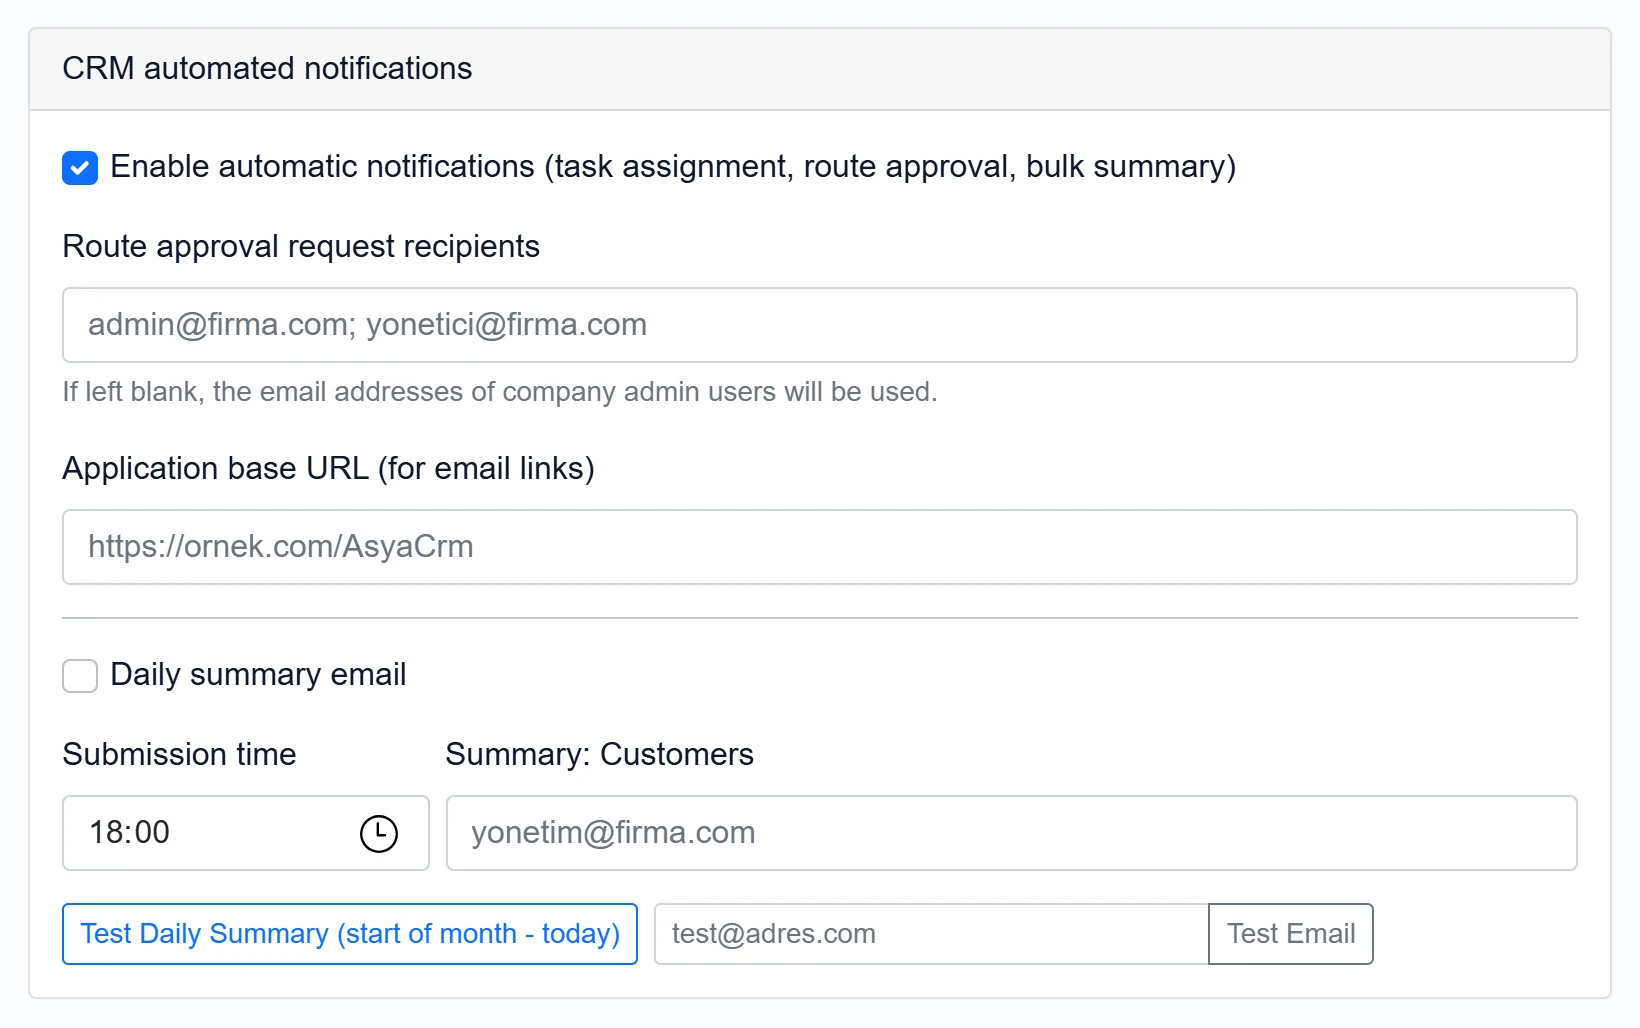
- 1Test Daily Summary (start of month - today) Sends the month-to-date summary right away (test).
- 2Test address Address that receives the test e-mail.
- 3Test Email Sends a test e-mail to this address with the SMTP settings.
While the top box Enable automatic notifications (task assignment, route approval, bulk summary) is checked, e-mails are sent when a task is assigned, a route is sent for approval and tasks are created in bulk from a route or business plan.
| Field | Sign in | Description |
|---|---|---|
| Route approval request recipients | Text | Addresses notified of routes sent for approval, separated by “;”. If empty, the company admins. Placeholder: «admin@firma.com; yonetici@firma.com» |
| Application base URL (for email links) | Text | Address prefixed to links in e-mails (e.g. https://example.com/AsyaCrm). Placeholder: «https://ornek.com/AsyaCrm» |
| Daily summary email | Checkbox | Sends the day's activity / task summary every day at the set time. |
| Submission time | Time | Time the daily summary is sent (default 18:00). |
| Summary: Customers | Text | Addresses that receive the daily summary, separated by “;”. Placeholder: «yonetim@firma.com» |
Last Email Records

- 1Reload Refreshes the log list.
- 2Records Last sent / failed e-mails: time (UTC), event, recipient, status, subject or error.
Recently sent and failed e-mails are listed here; the error column shows the message returned by the SMTP server.
Step by step: defining and testing the account
- Enter SMTP Server, Port, SSL/TLS, User name and Password.
- Enter the Sender email and Sender name.
- Click Save at the bottom; “Settings saved.” appears.
- Type your own address in the test box of the notifications card and click Test Email.
- If “Test Email Sent” appears and the e-mail arrives, the setup is complete; on errors check the details in Last Email Records.
The password field does not show the saved password. Leave it empty if you do not want to change it; the saved password is kept.
Common messages
| Message | Cause | Solution |
|---|---|---|
| Enter email for test. | Test Email clicked with an empty address box. | Enter a test address. |
| Not sent. | The daily summary reached no recipient. | Check the summary recipients and SMTP settings. |
| Error during registration: … | The settings could not be saved. | Pass the details to your administrator. |
| Authentication error from the SMTP server (535, 5.7.x) | An app password is needed or the password is wrong. | Create an app password and enter it as Password. |